How to Tamp Espresso Like a Pro — Technique, Pressure, and Common Mistakes
Tamping is the single most important manual step in making espresso. It compresses your ground coffee into a flat, even puck so that pressurized water flows through it uniformly — extracting balanced flavor instead of bitter or sour notes. Get it wrong, and no amount of expensive beans or gear will save your shot. The good news: proper tamping technique is simple to learn. In this guide, we break down exactly how to tamp espresso correctly, how much pressure to use, which tools make a difference, and the mistakes that ruin most home barista shots.
What Does Tamping Actually Do?
When you tamp espresso, you are compressing loose coffee grounds into a dense, uniform puck inside the portafilter basket. This matters because espresso machines push water through the puck at roughly 9 bars of pressure — the standard defined by the Specialty Coffee Association. If the puck has gaps, loose spots, or an uneven surface, water will find the path of least resistance — a problem called channeling. Channeling means some grounds get over-extracted (bitter) while others are under-extracted (sour), and your shot tastes unbalanced.
A proper tamp eliminates air pockets, creates a level surface, and ensures that water passes through every part of the coffee bed at the same rate. The result is a smooth, full-bodied espresso with balanced acidity and sweetness.
Step-by-Step Espresso Tamping Technique
Here is the technique we use and recommend to every home barista:
- Dose and distribute your grounds. Fill the portafilter basket with your target dose (typically 18–20g for a double shot). Use a WDT tool or give the portafilter a few gentle taps to settle the grounds evenly before tamping.
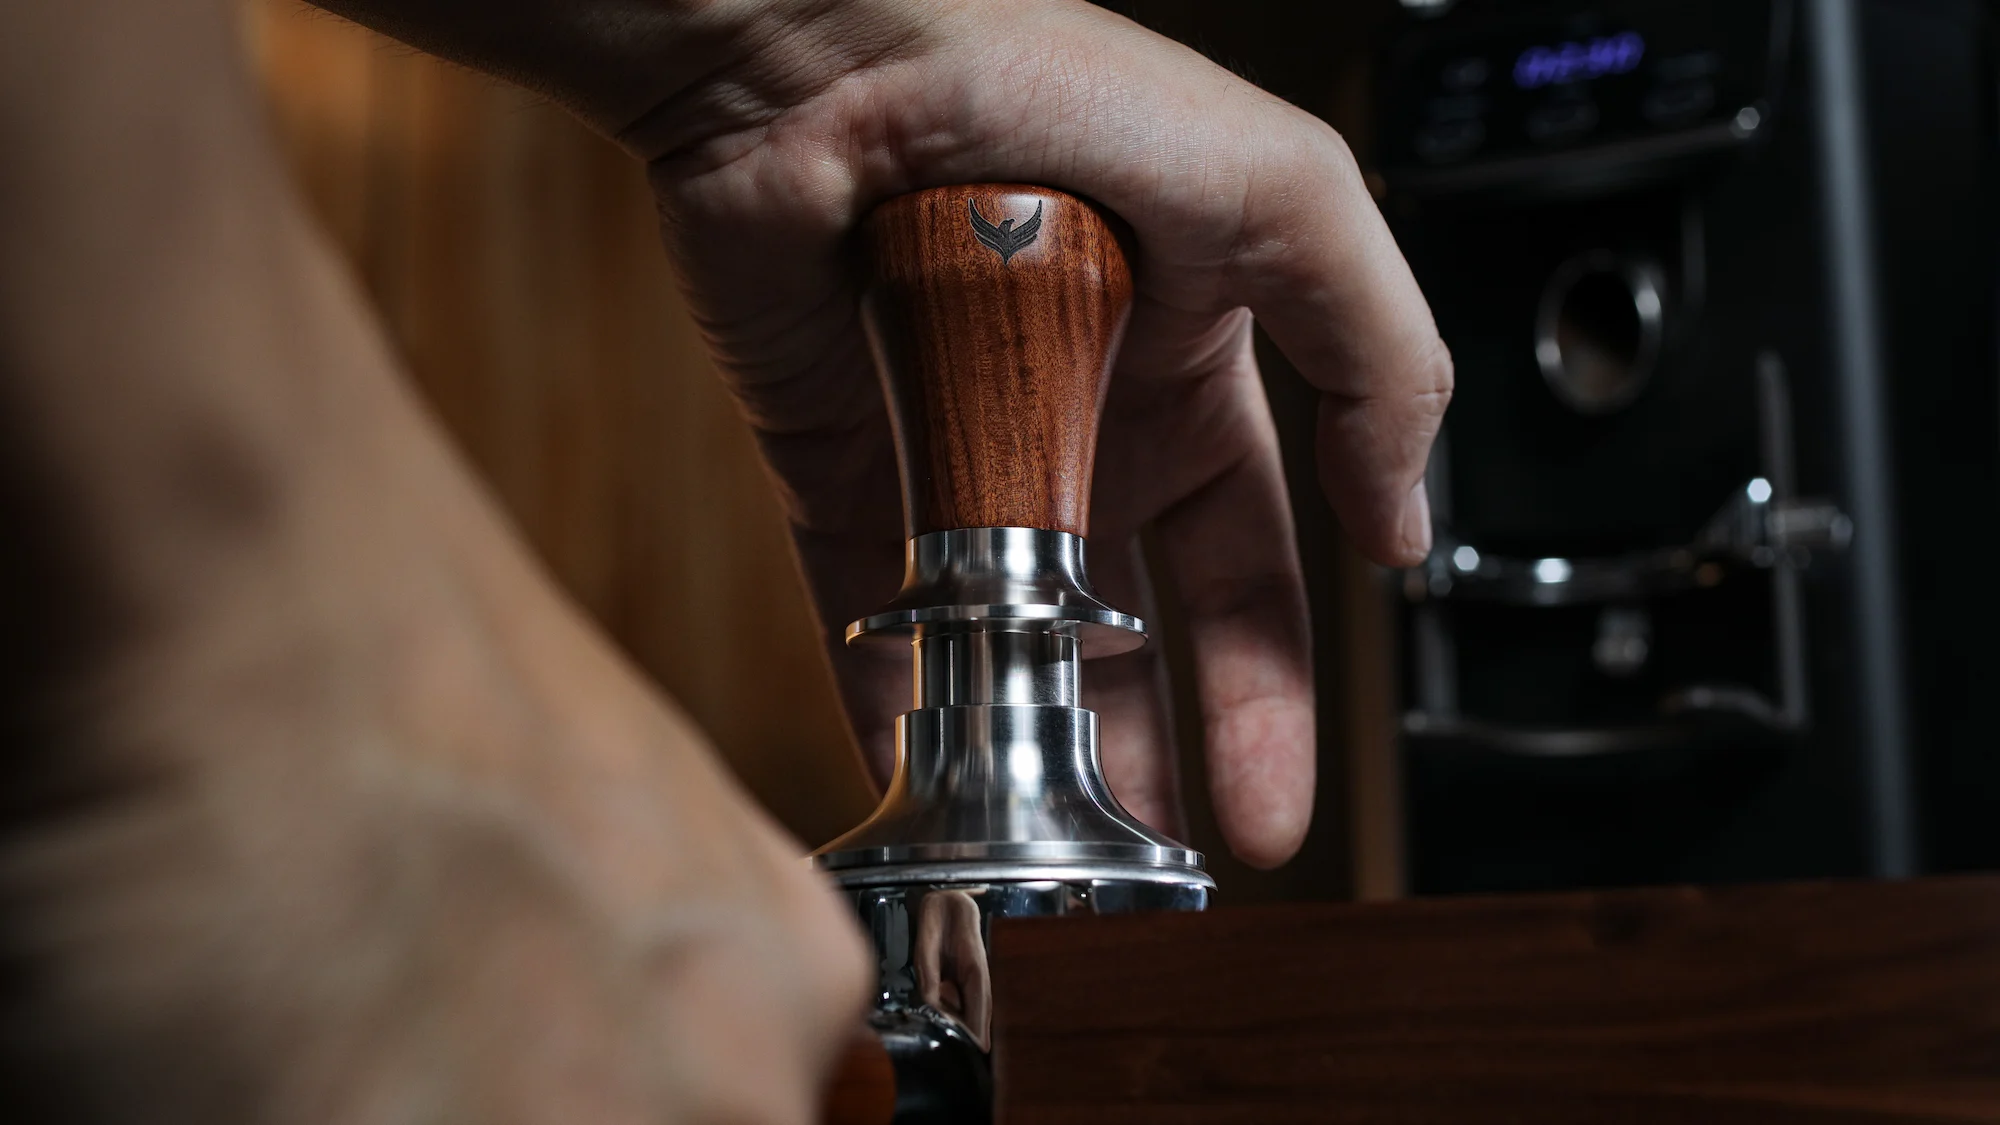
- Hold the tamper correctly. Grip the tamper handle like a doorknob — wrap your fingers around the handle with your thumb resting on top. Your wrist should be straight, and your elbow should be directly above the tamper.
- Position on a stable surface. Place the portafilter on a tamping station or the edge of your counter with the basket facing up. This keeps the portafilter steady while you press.
- Press straight down. Apply firm, even pressure — pushing straight down through your arm and shoulder, not your wrist. You want the base of the tamper to sit perfectly flat against the coffee bed.
- Hold and release. Once you feel the grounds compress and the tamper stops moving, hold for a brief moment, then lift straight up. Do not twist — a clean lift prevents disturbing the puck surface.
- Inspect the puck. The surface should be flat, smooth, and level. If you see one side higher than the other, your angle was off. Practice until you get consistent results.
How Much Pressure Should You Use?
The traditional advice is 30 pounds (roughly 14 kg) of pressure. In our testing, this is a reliable target — enough to fully compress the grounds without over-packing them. But here is what actually matters more than hitting an exact number: consistency.
Whether you press with 25 lbs or 35 lbs, your espresso will taste good as long as you apply the same force every time. The grind size, dose, and distribution have far more impact on extraction than a few pounds of tamping pressure difference. Barista Hustle's research on tamping pressure and extraction confirms that consistency outweighs absolute force.
That said, too little pressure (under 15 lbs) leaves the puck loose and prone to channeling. Too much pressure (over 40 lbs) can slow the flow excessively, leading to over-extraction and bitter, harsh flavors.
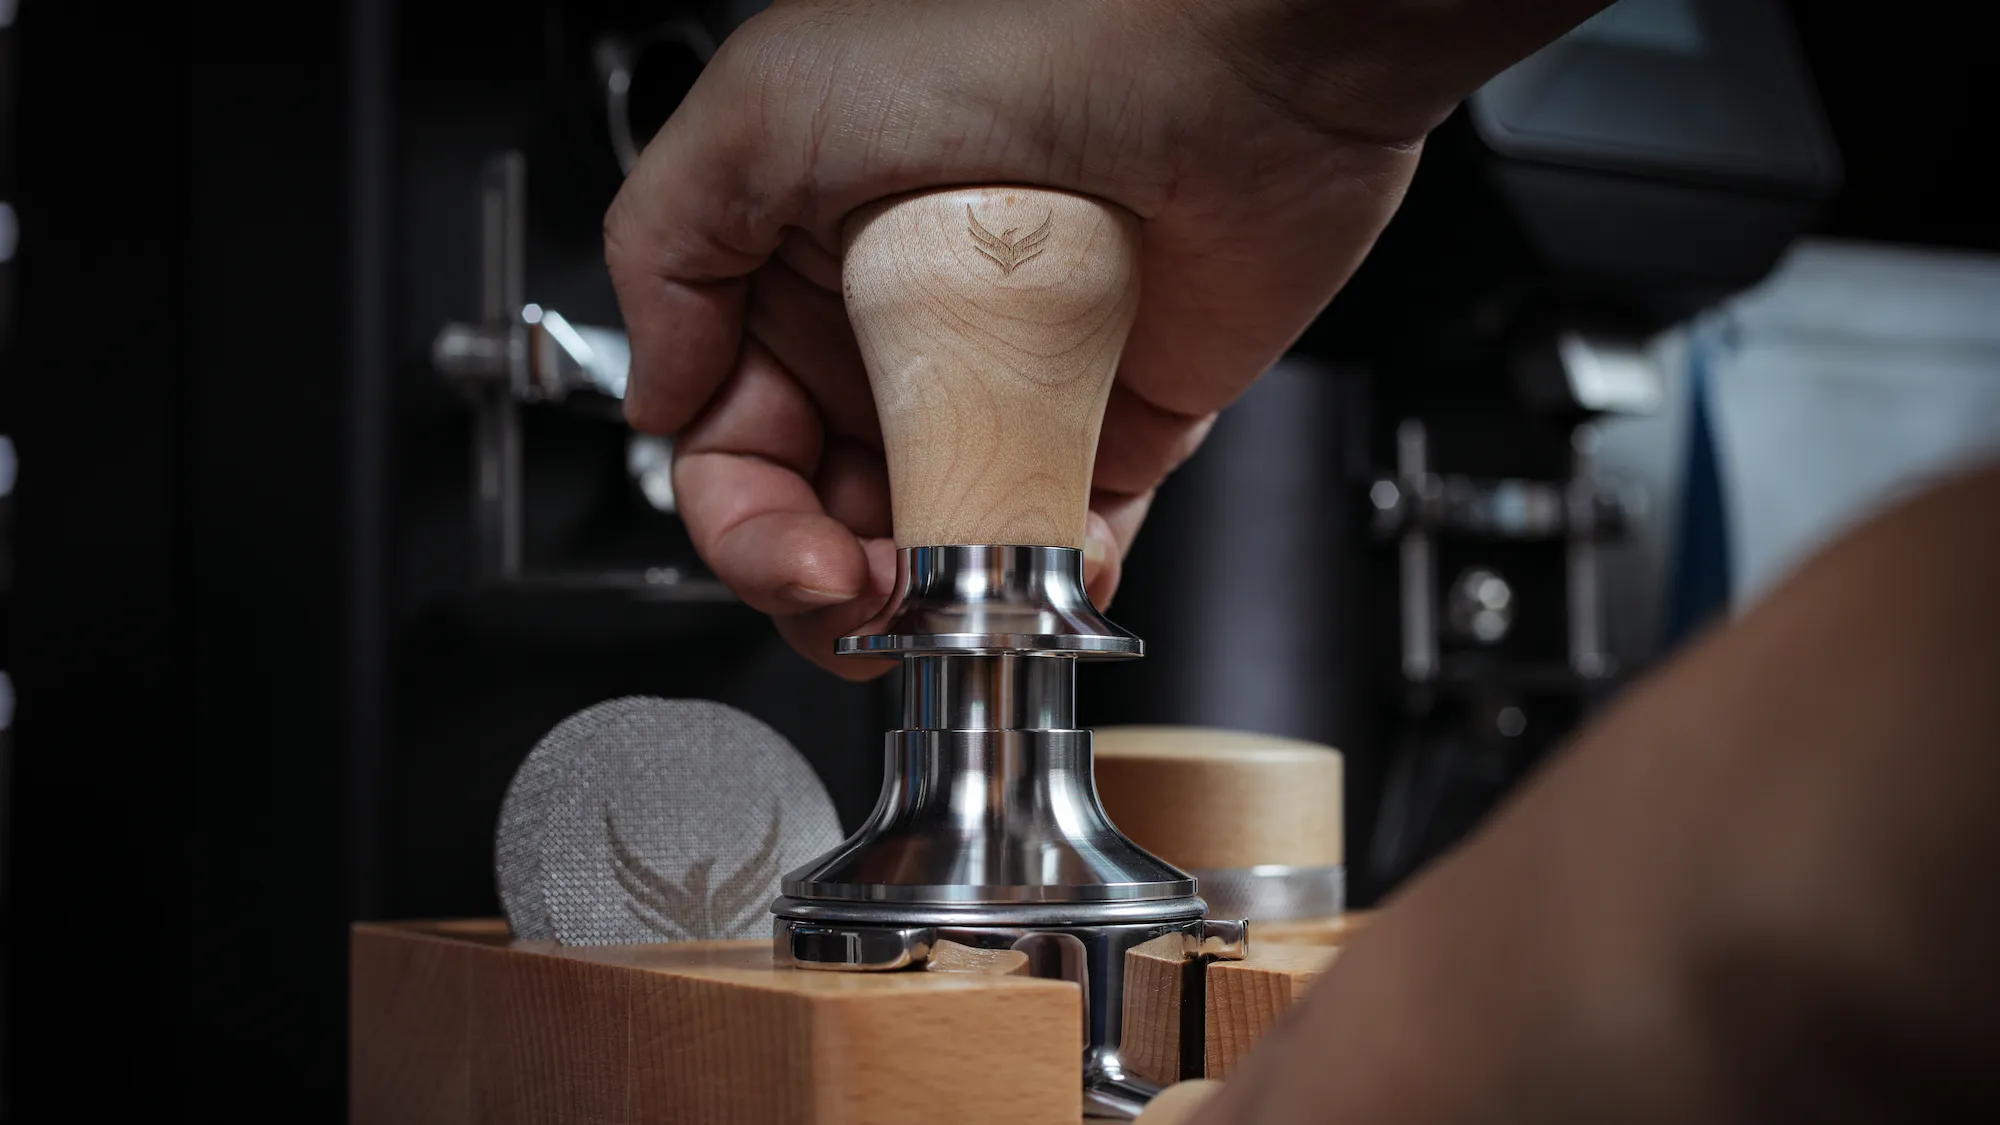
This is exactly why calibrated spring-loaded tampers have become popular. A spring-loaded tamper clicks or stops compressing at a preset force — typically 30 lbs — so every tamp is identical. You do not need to guess or practice on a bathroom scale. The KNODOS spring-loaded tamper uses a dual-spring mechanism calibrated to 30 lbs and comes with interchangeable 20 lb, 25 lb, and 30 lb springs so you can dial in your preferred pressure.
Spring Loaded Tamper vs Hand Tamper — Which Is Better?
A traditional hand tamper is a flat metal disc with a handle. You control the pressure entirely by feel. It works, and many experienced baristas swear by it — but it requires practice to be consistent, and your results can vary shot to shot depending on how you feel that morning.
A spring-loaded tamper removes the guesswork. When you press down, the internal spring compresses until it reaches its calibrated limit, then stops. Every tamp delivers the same pressure, the same depth, and the same puck density. Most spring-loaded tampers also feature a self-leveling mechanism that corrects slight angle errors automatically.
For beginners, a calibrated spring-loaded tamper is the fastest way to improve shot consistency. For experienced home baristas, it saves time and eliminates one more variable from the equation. If you are pulling 2–4 shots a day and want repeatable results without overthinking it, a spring-loaded tamper is the better investment.
That said, a good quality flat hand tamper still works perfectly if you have developed consistent muscle memory and prefer the hands-on feel.
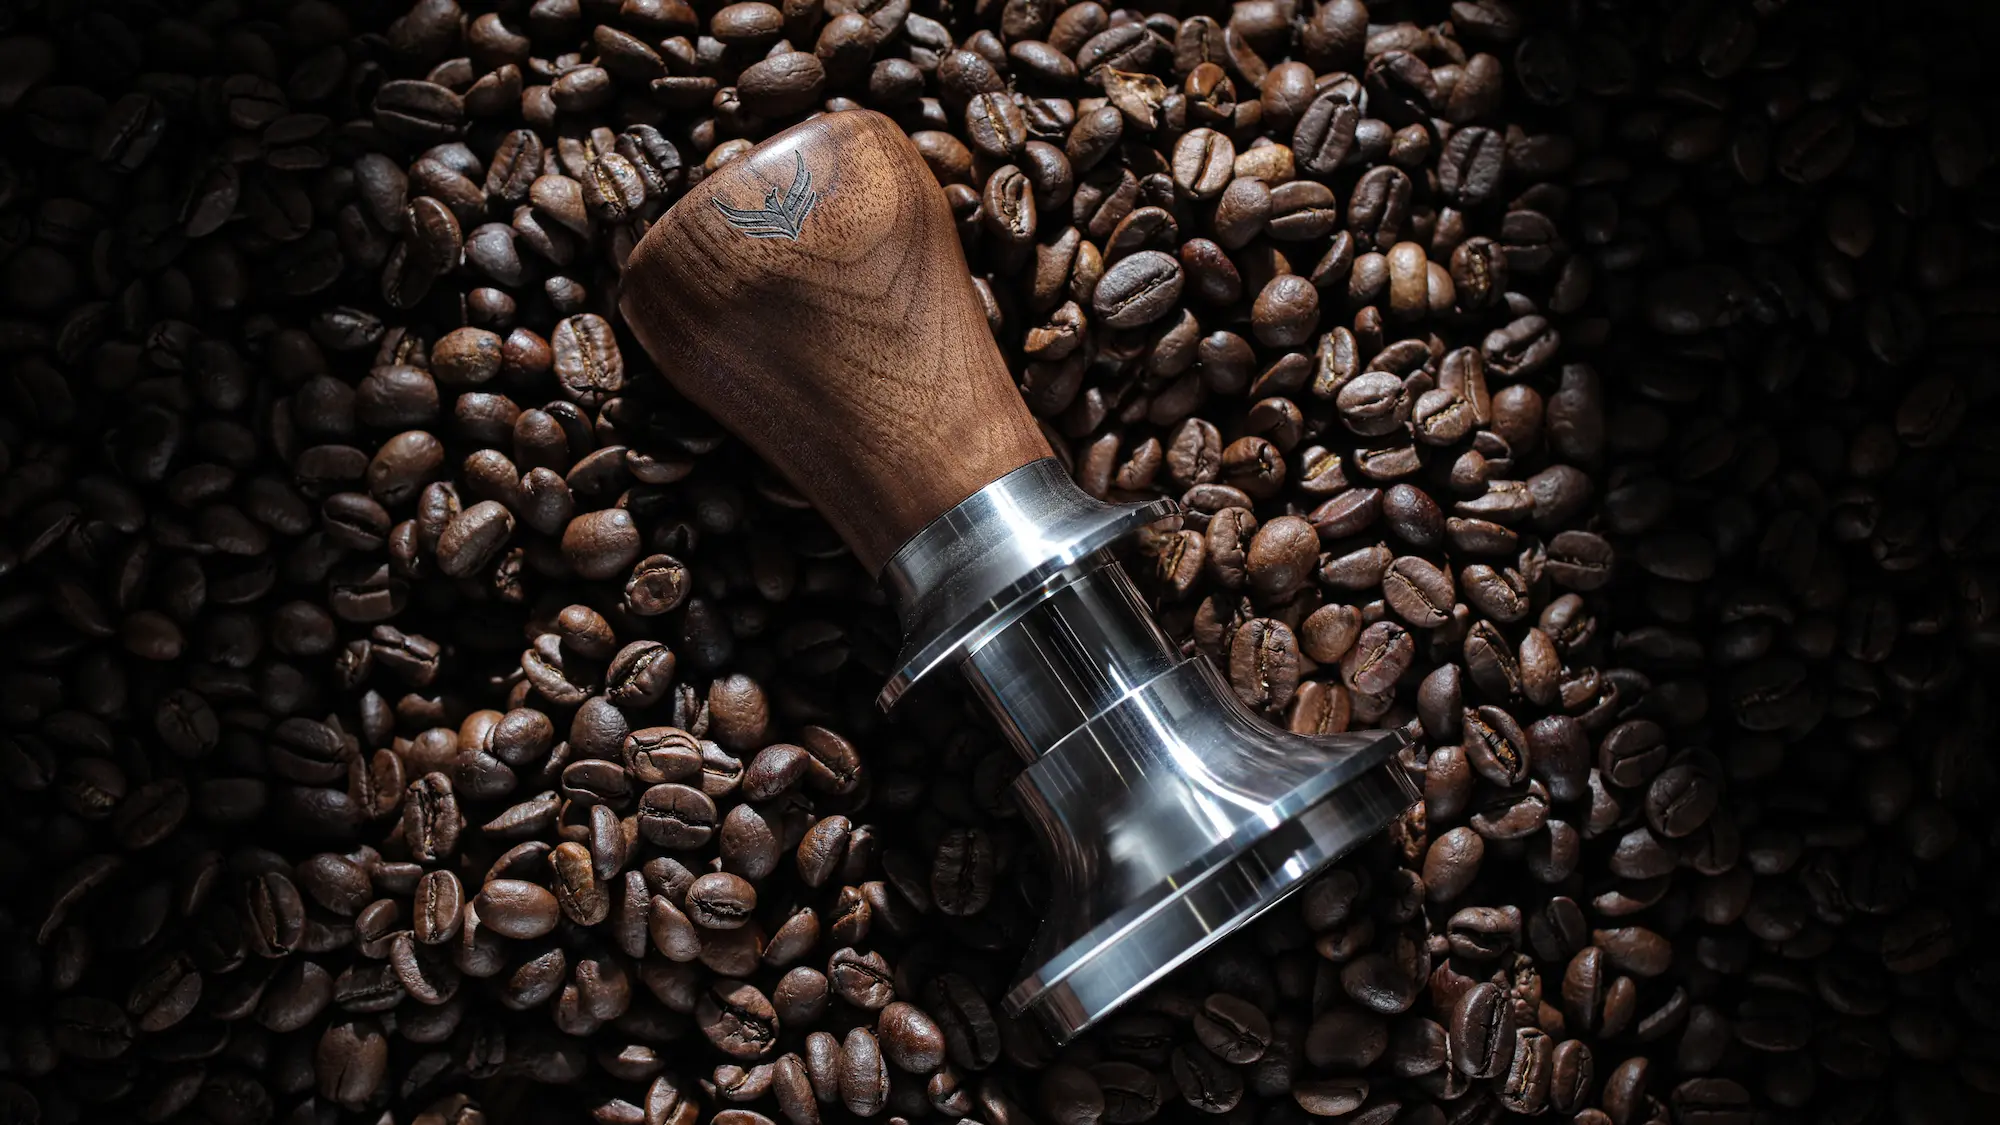
KNODOS Spring Loaded Espresso Tamper
Dual-spring mechanism, 30 lb calibrated pressure, self-leveling head, stainless steel ripple base with interchangeable 20/25/30 lb springs. Available in walnut, maple, and rosewood handles — in 51mm, 54mm, 58mm, and 58.5mm sizes.
View on Amazon →Choosing the Right Tamper Size for Your Machine
Tamper size must match your portafilter basket. A tamper that is too small leaves a ring of uncompressed grounds around the edge, causing channeling. Here is a quick guide:
54mm portafilters — used by all Breville (Sage) machines including the Barista Express, Barista Pro, Barista Touch, Bambino, Bambino Plus, Infuser, and Duo Temp Pro. The ideal tamper for these machines is actually 53.3mm, which provides a near-perfect fit with minimal gap. A standard 53mm tamper will work but leaves slightly more room around the edge.
58mm portafilters — the industry standard used by most commercial machines and home machines from Gaggia, Rancilio, Rocket, Profitec, Lelit, and E61 group machines. A 58.3mm tamper gives the tightest fit.
51mm portafilters — used by some smaller home machines including the Flair, DeLonghi Dedica, and older Breville models.
When in doubt, measure the inside diameter of your portafilter basket with calipers. The tamper should be 0.5–1mm smaller than the basket for a snug fit without binding. Use our machine compatibility finder to check which size fits your setup.
5 Common Tamping Mistakes and How to Fix Them
1. Tamping at an angle. This is the most common mistake. If the tamper tilts even a few degrees, one side of the puck is thicker than the other. Water rushes through the thin side, and the shot pulls unevenly. Fix: use a self-leveling tamper, or practice on a flat surface while watching the angle.
2. Not distributing grounds before tamping. If you dump grounds from the grinder and immediately tamp, there will be clumps and air pockets inside the puck. No amount of pressure can fix that. Fix: use a WDT tool (a thin needle stirrer) to break up clumps and an espresso distributor to level the bed, then tap the portafilter lightly to settle the grounds before pressing.
3. Using the wrong tamper size. A 53mm tamper in a 54mm basket leaves a visible ring of loose grounds around the edge. Water will channel straight through that gap. Fix: upgrade to a properly sized tamper — 53.3mm for Breville 54mm baskets, 58.3mm for standard 58mm baskets.
4. Tamping too hard. Pressing with 50+ lbs of force does not improve extraction — it just makes the puck too dense. Water cannot flow through at the right rate, the shot takes 40+ seconds, and the espresso tastes bitter and ashy. Fix: aim for 30 lbs or use a calibrated tamper.
5. The "twist and polish." Many baristas spin the tamper at the end for a polished puck surface. While it looks clean, twisting can actually disturb the top layer and create micro-fractures in the puck. Fix: skip the twist. Just press down, hold, and lift cleanly.
The Complete Puck Prep Workflow
Tamping does not happen in isolation. It is one step in a sequence called puck preparation, and each step matters. Here is the full workflow we recommend:
- Grind fresh beans into a dosing cup or directly into the portafilter.
- Weigh your dose (18–20g for a double basket) on a coffee scale.
- Transfer grounds to the portafilter using a dosing funnel to prevent spillage.
- Use a WDT tool to stir and break up clumps.
- Tap the portafilter gently on the tamping station to settle the grounds.
- Use a distribution tool (leveler) to create a flat, even surface.
- Tamp with consistent pressure using your calibrated tamper.
- Place a puck screen on top to protect the shower screen and improve water distribution.
- Lock the portafilter into the group head and start your shot.
Each tool in this chain solves a specific problem. The dosing funnel prevents mess. The WDT tool eliminates clumps. The distributor levels the bed. The tamper compresses it. The puck screen protects the machine and improves flow. Together, they take your espresso from good to consistently excellent.
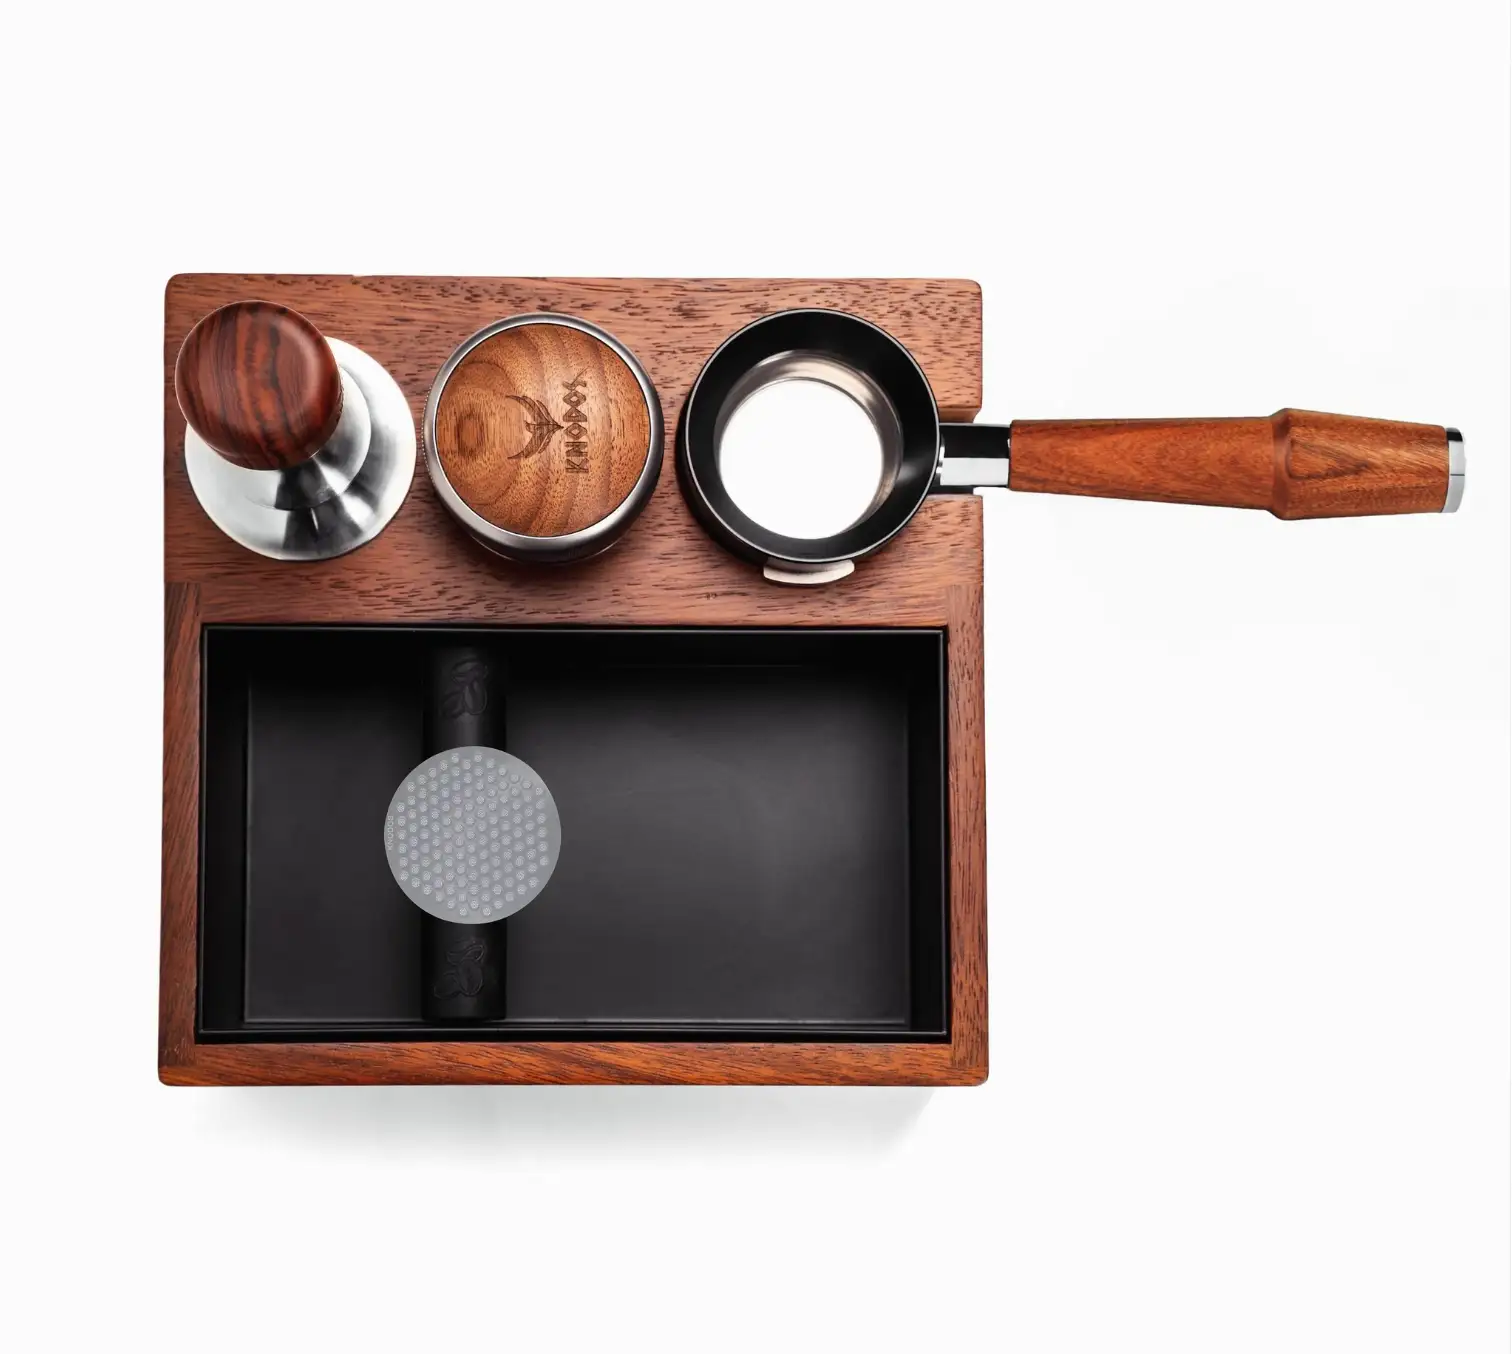
KNODOS Complete Espresso Accessories
Tamper, distributor, dosing funnel, puck screen, WDT tool, tamping station, knock box, and scale — all designed as a matched system in walnut, maple, or rosewood. Available in 51mm, 54mm, and 58mm sizes.
Shop KNODOS Bundles →Frequently Asked Questions
How hard should I tamp espresso?
Aim for about 30 pounds (14 kg) of pressure. Consistency matters more than the exact number — applying the same force every time gives you repeatable results. A calibrated spring-loaded tamper takes the guesswork out by stopping at a preset pressure.
Should I twist the tamper after pressing?
No. The old "twist and polish" technique can disturb the puck surface and create micro-channels. Press straight down, hold briefly, and lift cleanly without twisting.
What size tamper do I need for a Breville?
All Breville (Sage) espresso machines use 54mm portafilters. The ideal tamper size is 53.3mm for the tightest fit. A standard 53mm tamper works but leaves a slightly larger gap around the edges.
Is a spring-loaded tamper worth it?
Yes, especially for home baristas. A spring-loaded tamper delivers the same calibrated pressure every time and most include a self-leveling mechanism that corrects your angle automatically. It removes two of the biggest variables from your workflow — pressure consistency and puck levelness.