
Best Espresso Milk Pitcher & How to Steam Milk for Latte Art (2026)
Steaming milk for latte art means texturing it into microfoam — milk aerated so finely that the bubbles disappear and the liquid pours like wet paint. You get there by introducing air for only the first two to four seconds, then submerging the wand tip to spin the milk into a whirlpool that folds those bubbles down, and stopping between 55°C and 65°C. Everything else — the heart, the tulip, the rosetta — is a pouring skill built on top of that one texture.
What Is Microfoam, and Why Does It Matter?
Microfoam is steamed milk in which the air is broken into bubbles too small to see, so the foam and the liquid behave as a single glossy body. Pour it and it moves like paint rather than splitting into a thin milk underneath and a raft of froth on top. That integration is the whole reason latte art is possible.
The mechanism is protein. Milk contains whey proteins that, when heated and agitated, unfold and migrate to the surface of every air bubble, forming a film that holds the bubble open. Barista Hustle puts a number on it: microfoam means bubbles under roughly 500 µm. Research on steam frothing describes the mechanism: the denatured proteins act as foam stabilisers at the air–water interface, which is what keeps the structure from collapsing the moment you stop steaming. Fat then softens the result, giving the foam its round mouthfeel.
Practically, you can judge microfoam without any equipment. Swirl the pitcher. If the surface reflects light in one unbroken sheet and slides up the wall like a liquid, you have it. If you see distinct bubbles, hear a crackle, or watch a dry white crust sit on the surface while thin milk pours out first, you have froth — usable for a cappuccino by old-fashioned standards, but useless for pouring a pattern.
The Temperature Window That Decides Everything
Finish steaming between 55°C and 65°C (130–149°F); around 60°C the milk tastes at its sweetest. This is the single most important number in milk texturing, and it is also the one most home baristas overshoot.
Below about 50°C the drink feels lukewarm and the foam has not fully set. Between 55°C and 65°C the proteins have unfolded enough to stabilise fine bubbles, and lactose is most perceptible on the palate — this is why properly steamed milk tastes noticeably sweeter than cold milk straight from the carton. Push past roughly 70°C and denaturation accelerates: the foam turns stiff and dry, aromatic compounds are driven off, and a cooked or faintly sulphurous note appears.
For latte art specifically, many pourers aim at the lower half of the window, closer to 55–60°C. Cooler milk keeps the bubbles smaller and the foam more fluid, which buys you a longer working time before the surface stiffens and stops flowing.
| Range | Texture | Taste | Verdict |
|---|---|---|---|
| Below 50°C | Loose, unset foam | Flat, milky | Under-steamed |
| 55–60°C | Fluid, glossy, forgiving | Sweet | Best for latte art |
| 60–65°C | Firmer but still pourable | Sweetest around 60°C | Best all-round |
| Above 70°C | Stiff, dry, splits | Cooked, sulphurous | Scalded |
One rule saves most beginners: stop 3–5°C early. Heat stored in the pitcher and the milk keeps the temperature climbing after you close the valve. If you steam until it feels right, it is already too late.
Whole, Skim or Oat: How Milk Choice Changes Foam
Whole dairy milk is the most forgiving choice for latte art because its protein builds the bubble walls while its fat gives the foam body and a soft finish. Every other milk is a trade-off against that baseline.
Skim milk is the classic surprise. It foams higher and faster than whole milk, because there is no fat interfering with the protein film — but that same absence makes the foam dry and stiff, and it collapses sooner. It is easier to make a lot of foam with skim and harder to make good foam.
Plant milks vary enormously, and the deciding factor is almost never the base ingredient but the formulation. Barista editions are fortified with additional protein and stabilisers precisely so they can mimic dairy under steam. A standard supermarket oat drink and a barista oat drink behave like two different products in the pitcher.
| Milk | Foam quality | Stability | Latte art difficulty |
|---|---|---|---|
| Whole dairy | Dense, glossy | High | Easiest |
| Semi-skimmed | Light, decent gloss | Medium-high | Easy |
| Skim | Voluminous but dry | Medium | Harder |
| Barista oat | Close to dairy | Medium-high | Easy–moderate |
| Standard oat / almond | Thin, bubbly | Low | Difficult |
Whatever you choose, start cold: it lengthens the window between opening the steam and hitting temperature, and that window is where texturing happens.
How to Steam Milk, Step by Step
The whole sequence takes twenty to forty seconds on a home machine, and only the first few seconds are spent adding air. Work through it in order and the texture takes care of itself.
- Purge the wand. Open the steam for a second to clear condensed water, then wipe the wand. Water in the line thins your milk.
- Fill and position. Pour cold milk to just below the base of the spout. Set the tip just under the surface, slightly off-centre rather than dead middle.
- Stretch. Open the steam fully and hold the tip near the surface for two to four seconds. You are listening for a light, regular tearing sound — not a shriek and not silence.
- Submerge and spin. Lower the pitcher a centimetre so the tip sits under the surface and the milk turns in a smooth whirlpool. The noise should drop to a low rumble.
- Stop early. Close the valve while the pitcher is hot but still bearable, 3–5°C short of target.
- Groom. Wipe and purge the wand immediately. Tap the pitcher once on the counter to burst any coarse bubbles, then swirl until the surface turns glossy.
- Pour without delay. Microfoam starts separating within about thirty seconds. Steam your milk while the shot is brewing so the two are ready together.
If you are still fighting the espresso side of the drink as well, our guide on why espresso tastes sour or bitter covers the extraction half of the equation, and how to tamp espresso covers the puck preparation that sits underneath it.
Stretch, Spin, Polish: Reading the Pitcher
Milk texturing has exactly two phases — adding air, then folding it in — and almost every texture problem is a failure to separate them. Beginners tend to blur the two, drifting the tip in and out of the surface for the whole steam, which produces a bubbly mess.
The stretching phase is short and audible. With the tip barely submerged, each pass of steam drags air down into the milk with a soft ripping sound. Two to four seconds is enough for a standard latte; a drier cappuccino takes a little longer. Volume, not time, is your guide: the milk should visibly rise by roughly a fifth.
The spinning phase is where microfoam is actually made. Sink the tip slightly and angle the pitcher so the milk rotates around a clear vortex. That rotation is a mixer: it drives the big bubbles from the stretching phase down through the body of the milk and shears them into progressively smaller ones. Hold the whirlpool until you hit temperature, and the foam integrates completely.
Polishing is the last few seconds after the steam is off. Tap once to pop surface bubbles, then keep swirling — that keeps foam and milk combined and puts a shine on the surface. Milk left standing even twenty seconds starts to separate, and no pouring technique rescues that.
Steaming by Feel Instead of by Thermometer
Most experienced baristas never use a thermometer, because judging temperature by hand keeps your attention on the sound and the whirlpool where it belongs. A thermometer gives you a number, but it also gives you something to stare at during the two seconds when your ears matter most.
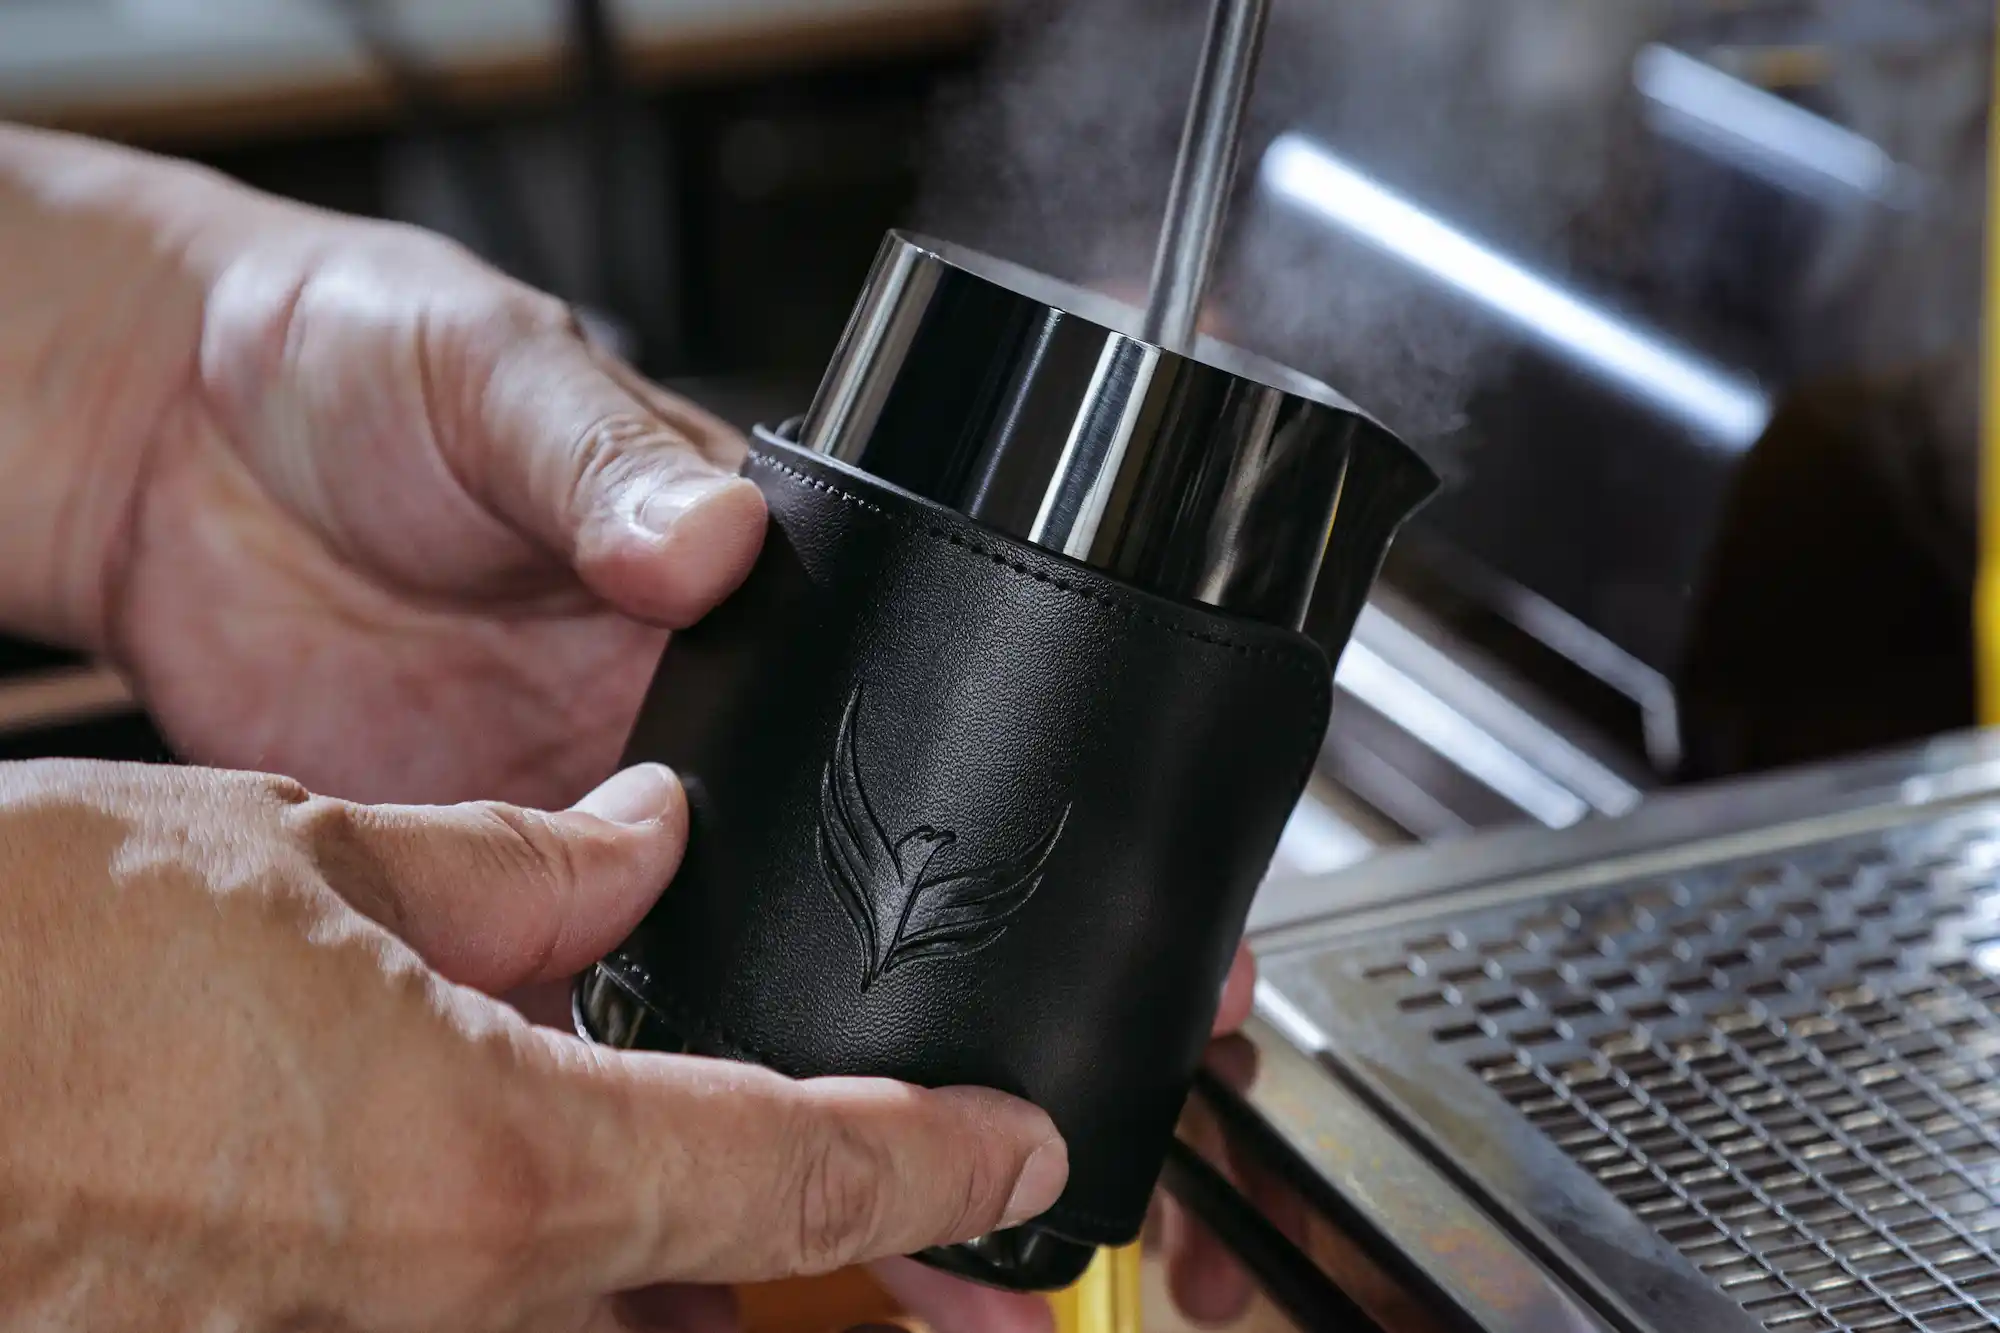
The physical cue is simple and reliable. Rest your hand on the body of the pitcher while you steam. Milk at 55–60°C makes the metal properly hot but still holdable. The moment holding it becomes genuinely uncomfortable, you are around 65°C and it is time to stop — in fact, past time, because residual heat is still climbing.
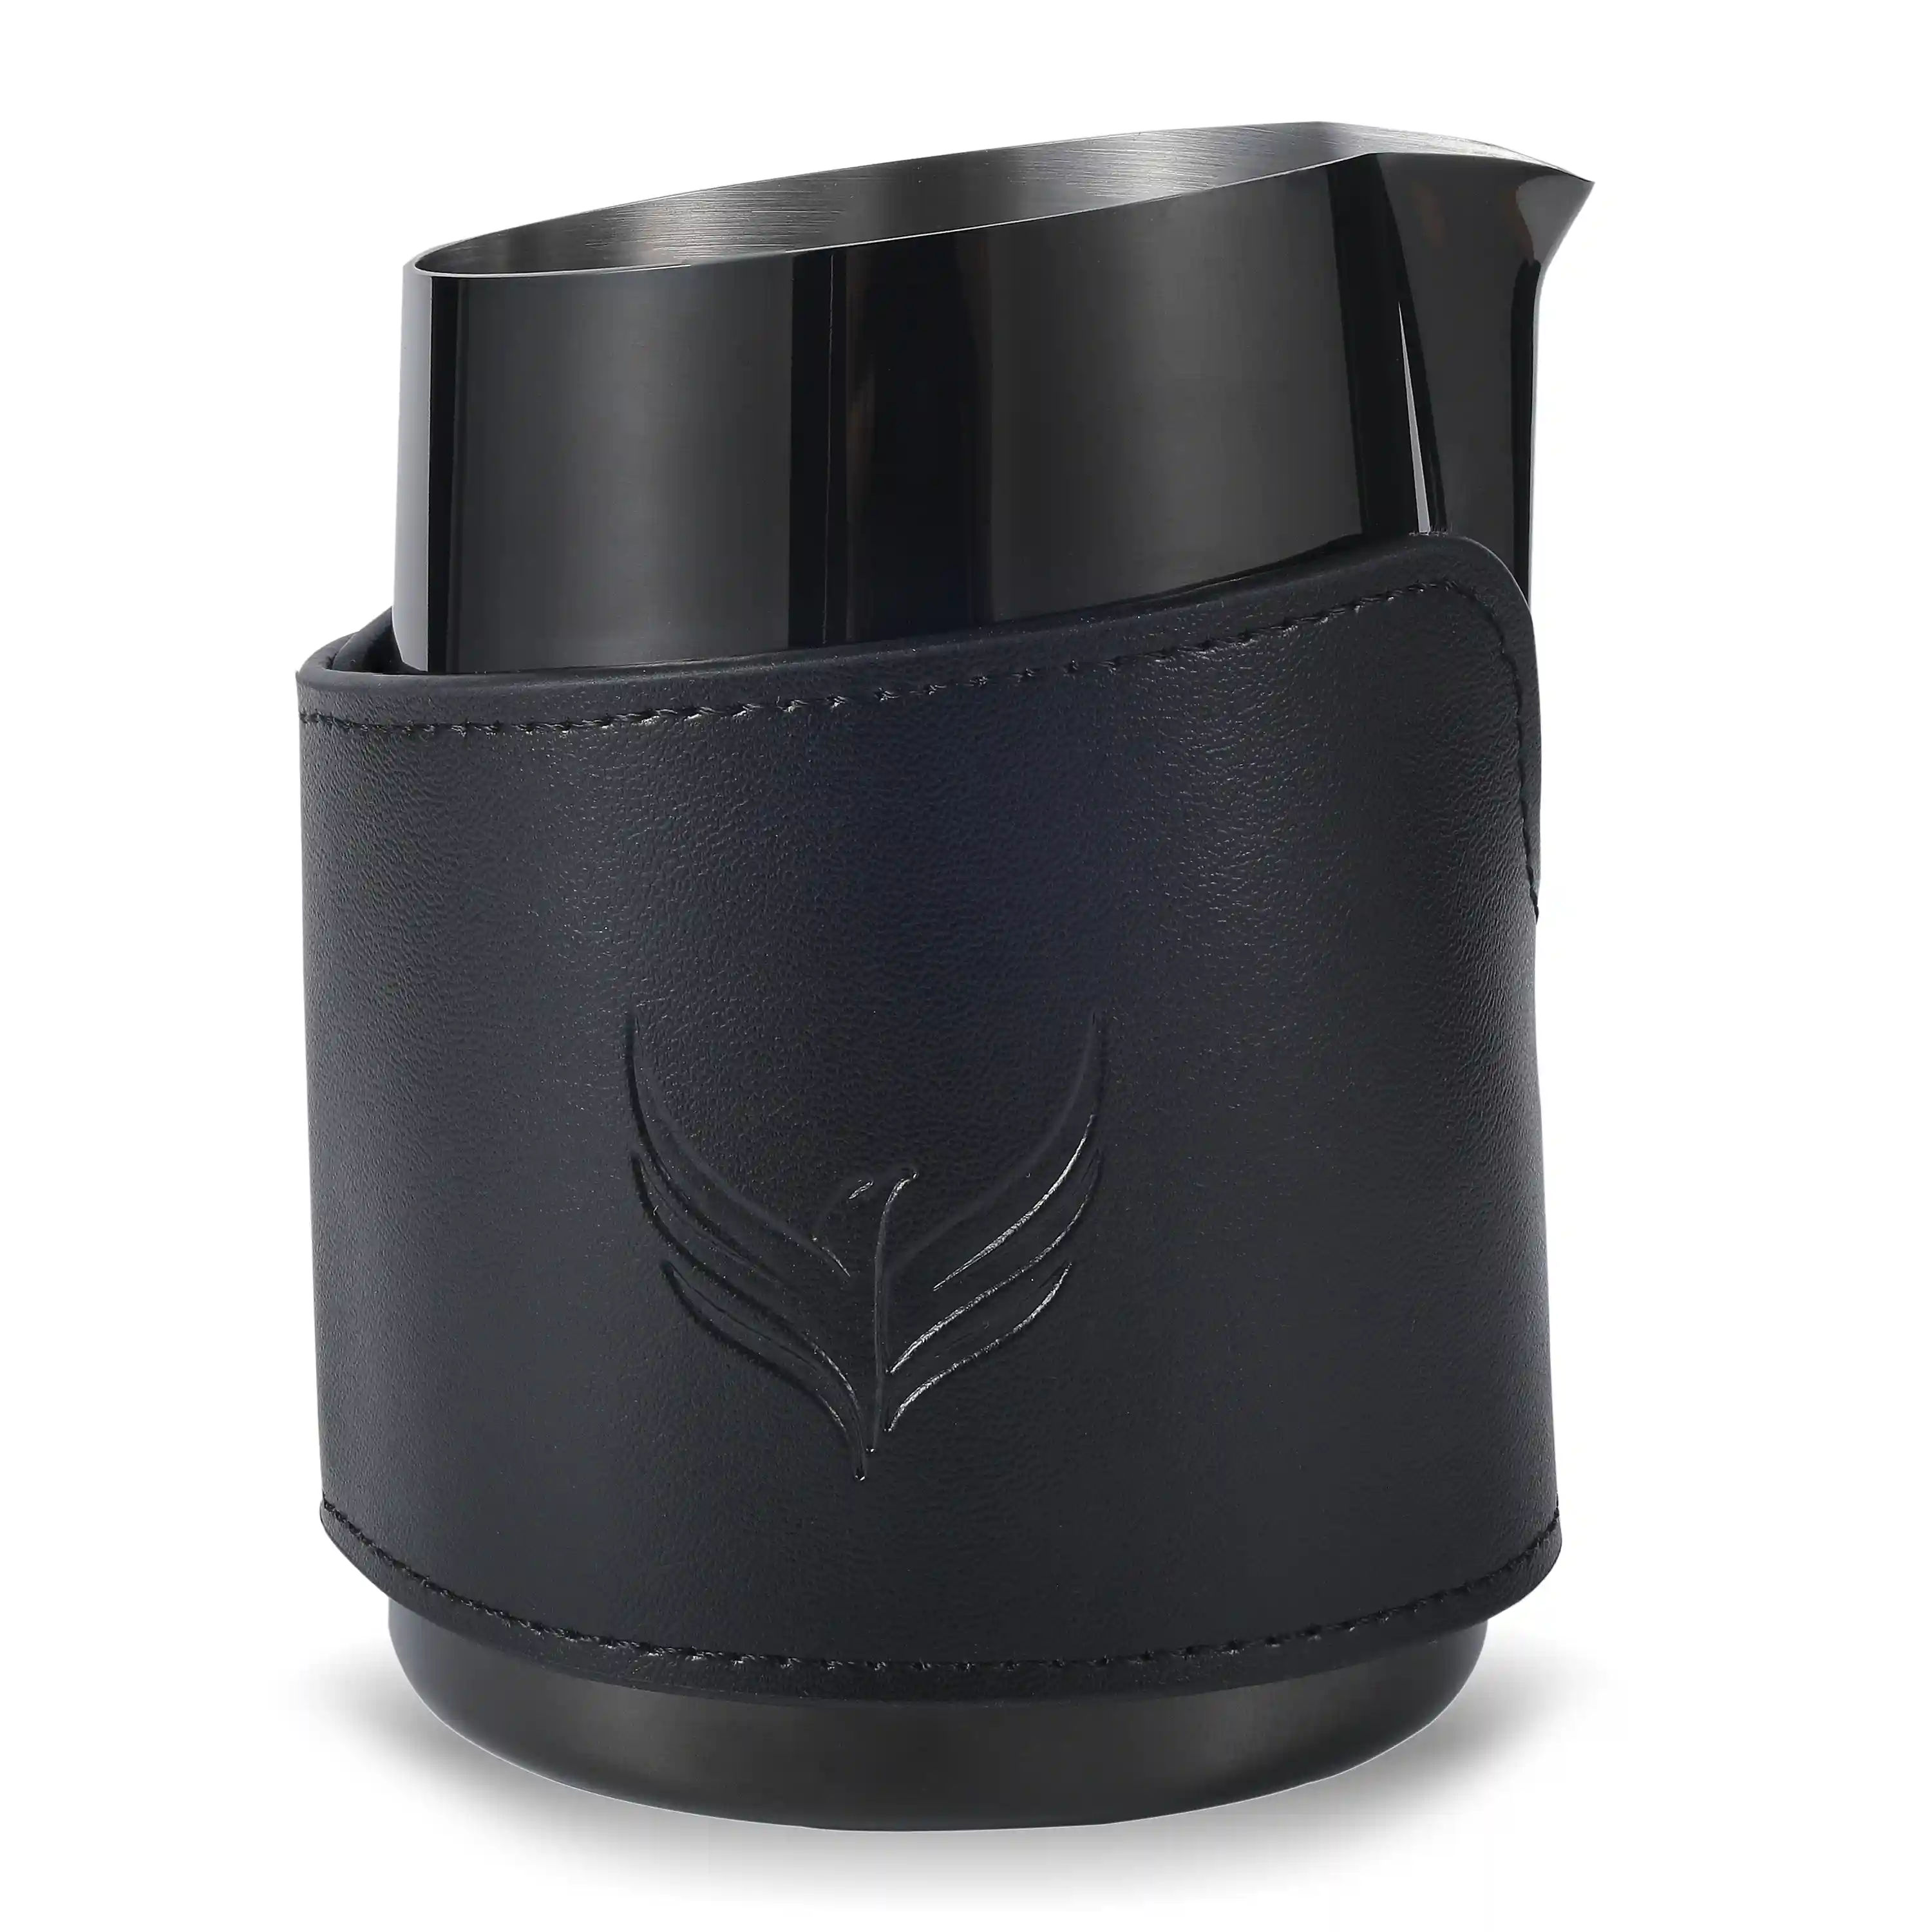
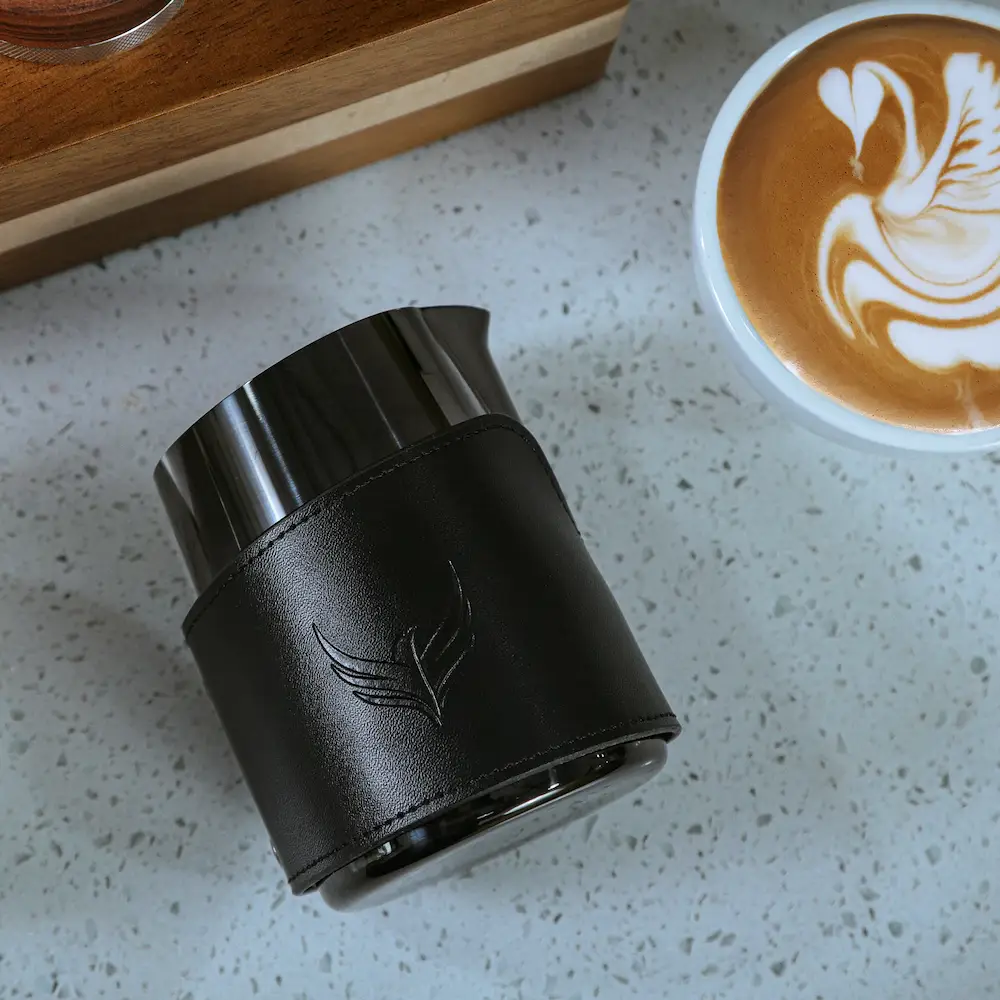
This is easier with some pitchers than others. A conventional handle keeps your hand away from the metal, which is comfortable but blind. Our own handleless milk pitcher with a leather sleeve is built around the opposite idea: the sleeve insulates enough to protect your palm while still transmitting the heat curve, so you feel the milk approaching temperature rather than guessing. It holds 400ml (14oz) in stainless steel with interior fill markings, and the handleless grip gives more wrist rotation on the pour.
If you are new, use a thermometer for a week to calibrate your hand, then put it away.
How to Choose the Best Espresso Milk Pitcher
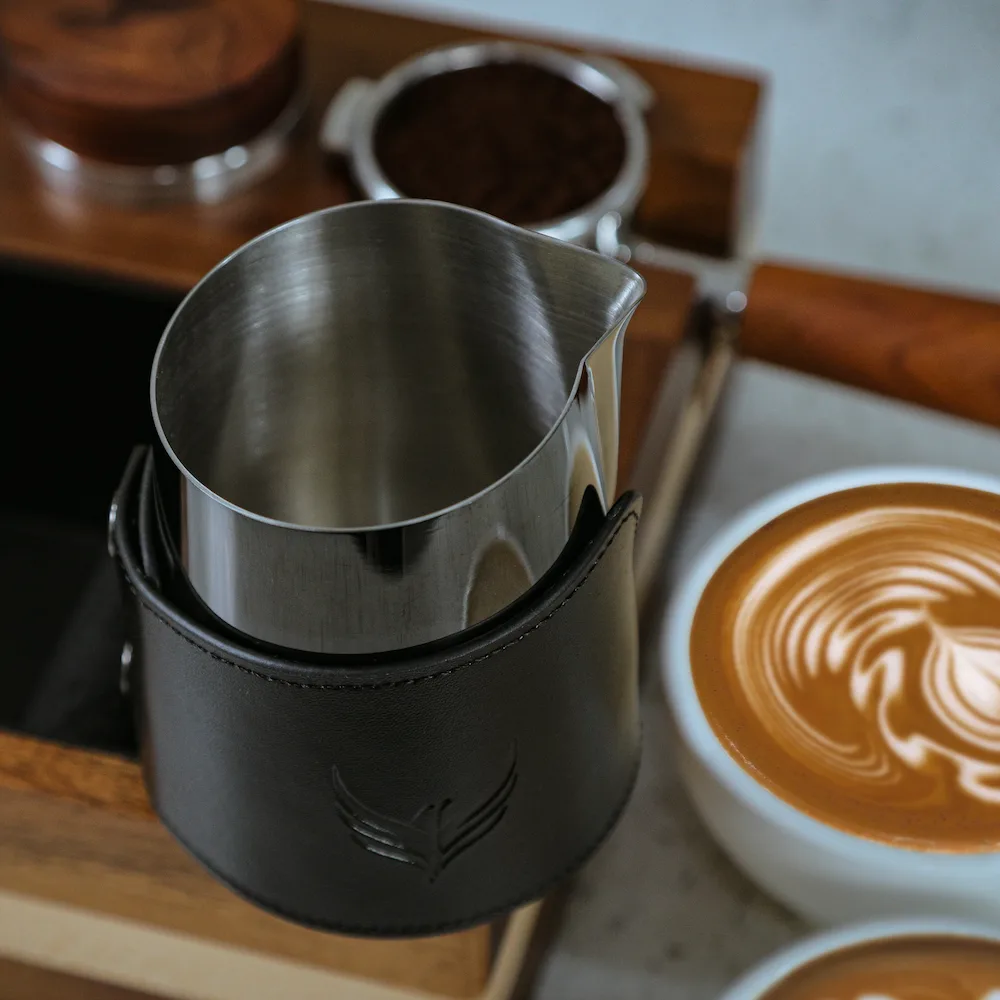
The best espresso milk pitcher for home use is one whose volume matches your drink, whose spout is narrow enough to pour a controlled line, and whose body lets you judge temperature. Volume comes first, because milk that sits too shallow or too deep in the jug cannot be textured properly. A pitcher is not a neutral container; it sets how the whirlpool forms and how precisely you can pour.
For home use, 350–450ml covers a single or double milk drink comfortably. Below that you struggle to get the wand tip to a useful depth. Much above it and a single drink's worth of milk lies too shallow to spin, which is why a 600ml pitcher makes small drinks harder even though it seems more versatile.
| Pitcher | Best for | Notes |
|---|---|---|
| 150–250ml | Single macchiato, practice pours | Too small for a full latte |
| 350–450ml | One latte or cappuccino | The home all-rounder; our pitcher is 400ml |
| 600ml+ | Two drinks at once | Poor control on small volumes |
Spout shape decides how fine your pouring can get. A narrow, sharply defined spout produces a thin, controllable stream for detail work; a wide, rounded spout floods the surface and suits simple shapes. Material matters less than people assume, provided it is proper stainless steel that will not corrode under daily heat.
Pouring the Pattern: Heart, Tulip, Rosetta
Every latte art pattern is the same two movements — pour high to sink the milk under the crema, then drop low so the foam surfaces and draws. Learn that transition and the individual shapes are variations on it.
Start with the cup tilted toward you. Pour a steady stream from around ten centimetres up, aiming at the centre. From that height the milk punches through the crema and mixes underneath, which is exactly what you want for the first half of the cup: it builds the drink without putting white on the surface.
When the cup is roughly half full, bring the spout down almost to the surface and increase the flow slightly. The foam now floats instead of sinking, and a white spot appears. That spot is your canvas.
- Heart. Hold the spout still and let the white circle grow, then lift and draw a line straight through it as you level the cup.
- Tulip. Push a spot, stop the pour, move back a centimetre, push a second smaller spot into it, repeat two or three times, then cut through all of them.
- Rosetta. Once the spot appears, wiggle the pitcher gently side to side while moving slowly backwards, then lift and draw a line forward through the leaves.
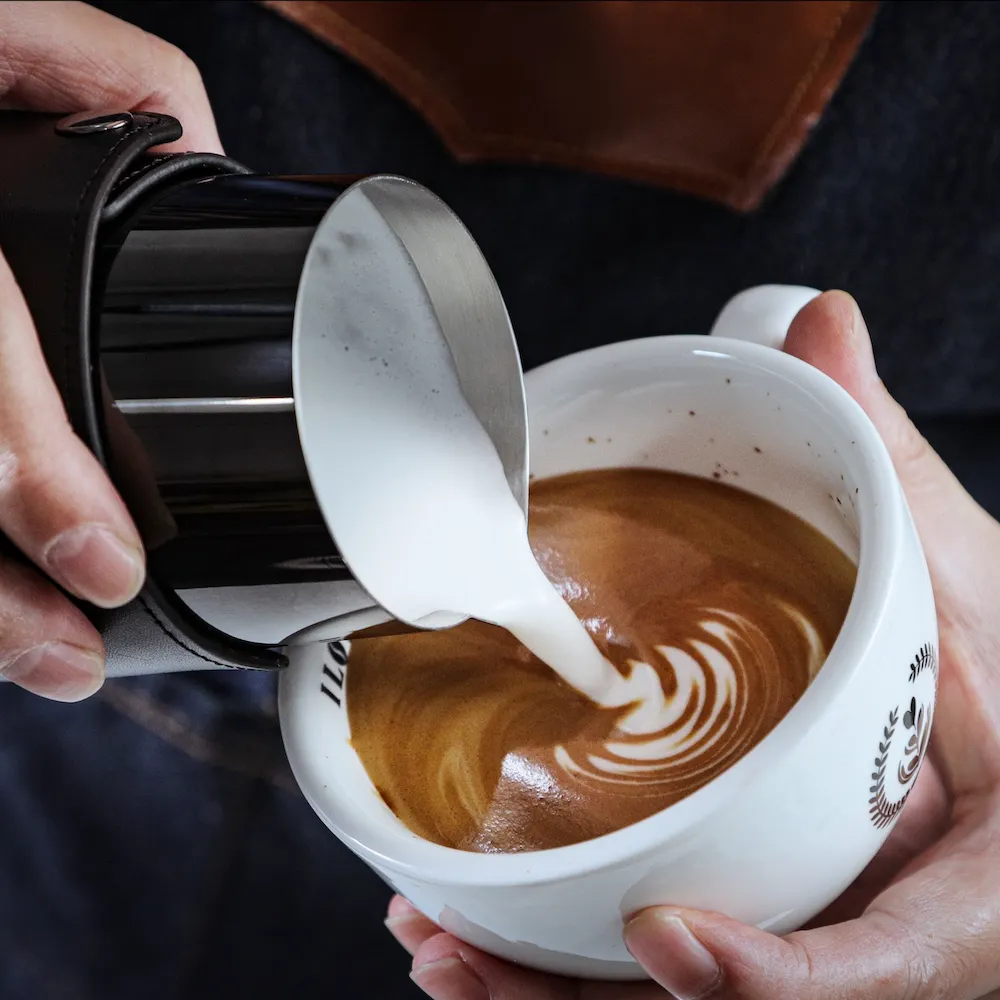
Two things fix most failed pours. Level the cup progressively as it fills, so the surface stays where your spout can reach it. And pour with enough confidence to keep the stream unbroken — a hesitant, thin trickle never displaces the crema and just disappears.
Common Mistakes to Avoid
- Adding air after the first few seconds. Once the stretching phase is over the tip stays submerged. Late air is what makes those coarse surface bubbles.
- Overheating. Past roughly 70°C the foam stiffens and the milk tastes cooked. Stop 3–5°C early and let residual heat finish the job.
- Letting the milk stand. Microfoam separates within about thirty seconds. Steam while the shot brews, not before.
- Skipping the whirlpool. Air without rotation is froth, not microfoam. The spin is what makes the bubbles small.
- Filling the pitcher too full. Milk expands as it stretches; fill to just below the spout base.
- Leaving the wand dirty. Milk bakes onto hot metal in seconds and blocks the holes, and a blocked wand quietly ruins every steam after it.
- Re-steaming leftover milk. The proteins have already set. It will not texture again.
- Blaming the milk for an espresso problem. If the shot underneath is hollow or harsh, better foam will not save the drink.
Tools That Make Milk Easier
Milk texturing needs less equipment than puck preparation, but the pitcher itself does real work and a scale keeps the rest of the drink consistent. Beyond the machine, the list is genuinely short.
A well-shaped milk pitcher in the right size is the one non-negotiable item, because spout geometry sets how fine your pour can be and volume sets how the whirlpool forms. A coffee scale matters for the espresso underneath: consistent dose and yield mean the drink you are pouring into is the same every morning. If your shots are inconsistent, the milk will get blamed for problems it did not cause — and the puck-prep tools in our accessory sets, from tampers to WDT tools, are what fix that side.
Not sure which accessories fit your machine at all? Our guide to choosing espresso accessories for your machine walks through portafilter sizes and compatibility, and the machine finder matches parts to specific models.
For the underlying science, Barista Hustle defines microfoam as a foam of uniform bubbles under roughly 500 µm across, and their entry on foamability explains why some milks hold that structure and others collapse. Peer-reviewed work on steam frothing and milk microfoam covers composition and stability in more depth.
Frequently Asked Questions
What temperature should milk be steamed to?
Aim to finish between 55°C and 65°C (130–149°F). Around 60°C the milk tastes sweetest because lactose is most perceptible at that point. Above roughly 70°C whey proteins denature further, the foam stiffens and the milk picks up a cooked, sulphurous note. Because residual heat keeps rising after you close the valve, stop steaming about 3–5°C below your target.
What is microfoam?
Microfoam is milk aerated so finely that the bubbles are invisible to the eye and the liquid behaves like wet paint rather than froth. It pours as a single glossy body instead of separating into liquid and foam. That integration is what allows latte art: the white foam layer sits on the crema and holds a defined edge instead of sinking or breaking apart.
Why does my milk have big bubbles?
Big bubbles mean you introduced air for too long, or you kept the wand tip at the surface after the stretching phase. Air should only go in during the first two to four seconds. After that the tip must sit deep enough to spin the milk and fold those bubbles down. A weak or missing whirlpool is the second common cause.
Which milk foams best for latte art?
Whole dairy milk is the most forgiving. Its protein content builds the bubble walls and its fat gives the foam body and a soft mouthfeel. Skim milk foams higher but drier and collapses faster, which makes fine pouring harder. Among plant milks, barista-formulated oat performs closest to dairy because it is fortified with extra protein and stabilisers.
Can I steam milk twice?
You can, but it will not texture properly the second time. Once the proteins have unfolded and set around air, they cannot rebuild the same structure. Re-steamed milk foams thin, tastes flat and often scorches because it starts warm. Steam only what you need for the drink in front of you and pour the rest away.
How full should I fill the milk pitcher?
Fill to just below the base of the spout, roughly halfway to two-thirds of the pitcher. Milk expands as you stretch it, so an over-filled pitcher spills and leaves no room to build the whirlpool. Under-filling makes the wand tip sit too deep to draw any air at all.
What size milk pitcher should I buy?
A 350–450ml pitcher suits most home setups because it handles a single or double milk drink comfortably. Our own pitcher holds 400ml (14oz), which sits in that range. Larger 600ml pitchers are useful when you make two drinks at once, but they make small-volume texturing harder because the milk sits too shallow.
Why does my latte art sink into the coffee?
Sinking usually means the foam is too thin, or you poured from too high for too long. A thin, under-aerated milk has nothing to sit on the surface. Pour from height only long enough to break through the crema, then bring the spout down close and let the foam float and spread.
Do I need a thermometer to steam milk?
No. Most experienced baristas judge by touch, because a thermometer distracts you from the sound and the whirlpool. The practical cue is to hold the pitcher and stop when it becomes uncomfortably hot to keep holding. A handleless pitcher makes this easier because your palm is against the body of the jug.
How long should steaming take?
On a home machine, roughly 20 to 40 seconds for a single drink. Faster than that usually means your steam power is high and you have little time to control the texture. Much slower means weak steam pressure, which tends to produce dull, over-aerated milk because the air phase drags on.
Where should the steam wand tip sit?
Just below the surface during stretching, then about a centimetre deeper once you start spinning. Position the tip slightly off-centre so the milk rotates rather than churns. A tip placed dead centre pushes milk straight up and produces bubbles instead of a whirlpool.
Why does my milk taste burnt?
You have gone past roughly 70°C. Beyond that point whey proteins denature aggressively, aromatic compounds are driven off and the milk takes on a cooked, sulphurous flavour. It also loses the perceived sweetness that peaks near 60°C. Stop the steam earlier and remember that the temperature continues to climb after you close the valve.
Should I clean the steam wand every time?
Yes. Wipe the wand with a damp cloth and purge it immediately after every use. Milk proteins bake onto a hot wand within seconds and then block the holes, which weakens the steam and ruins texture. A blocked wand is one of the most common reasons a machine suddenly stops producing good microfoam.
Can I make latte art without a steam wand?
Not properly. Handheld frothers, French presses and electric jugs create foam, but the bubbles are large and separate from the liquid, so the texture sits on top rather than pouring as one body. You can float a rough shape, but defined patterns need the fine, integrated microfoam that only steam pressure produces.